Now that we have slaughtered and butchered the pig, we need to move on with processing some of the last parts, which in this case was the bones, skin, fat and meat that was set aside for sausage making, including the heart and tongue.
The easiest and longest part of this process is making bone broth. There are many ways of doing so, and depending on how you plan on using it, you can make it as simple or complicated as you wish.
When I am looking for a stock with lots of flavour, I tend to roast the bones in the oven with onions and vegetable scraps before covering with water and setting aside to cook. But with the quantity of bones we had on hand, we decided to simply get the best nutrients out of them and leave them with a neutral taste to use in a variety of ways. Many claim that the bones should be soaked in vinegar to enable better leaching of the minerals from the bones, but I have always been content with a long 24 hour process that leaves you with a silky broth that gels as it cools. You can heat it up with ginger, garlic and chilli when you have the flu and need a warm pick me up, or you can add it to sauces or use as a soup base. It is full of nutrients, minerals and gelatine which is pure goodness for your body and soul.
Note: The organic vs conventional debate is one that I am not going to get into. I believe in knowing where your food is coming from, and being able to look your farmer in the eye. But when it comes to bone broth, do try to get access to animals that are raised without hormones/antibiotics. My husband Dag, who at some point at some point will end up guest blogging here, points out that younger animals tend to have picked up less heavy metals and environmental poisons than their older bretheren, whether you are talking about domestic or game.
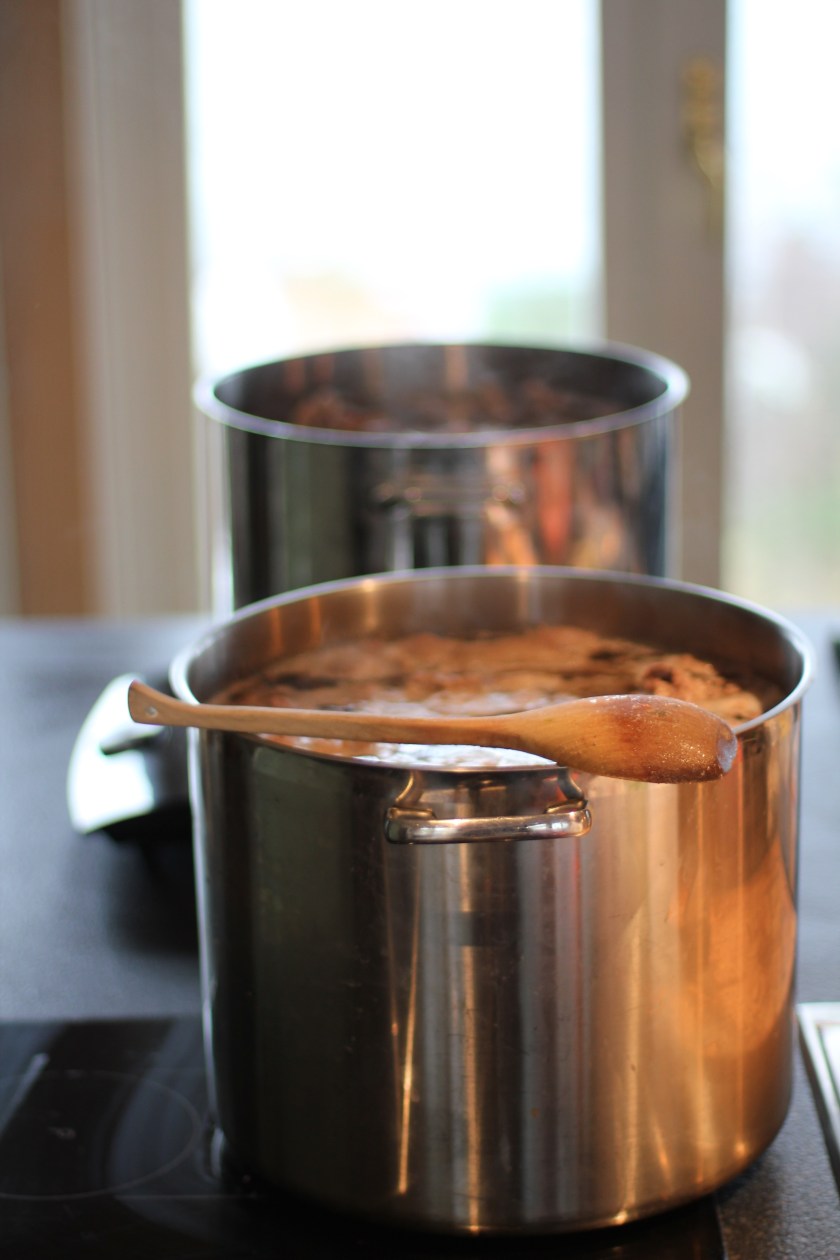
We set aside some bones to pack down for the freezer, then filled two 20 liter pots with the rest, including any scraps of skin that we had left over. We had already scraped the fat from them to use in the sausage. Top with cold water, and bring up to a slow boil. Many say you need to remove the scum that appears on the top, we have seen that it often works itself back into the base and when strained is not a problem. Nothing like low maintenance work. When done, remove solids, strain (cook it down further if you want to concentrate it and store for future use. (double sealed vacuum bags work well or pour into sterilised jars.)
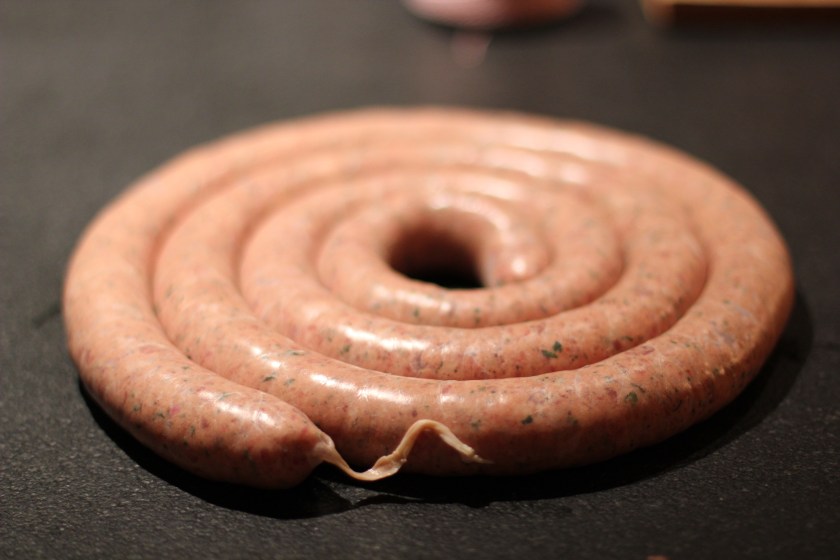
Meanwhile, we went to work on grinding the meat, including the tongue and heart, as well as the fat to make sausages. This was our first time, and we were thrilled with the results! So if you have never done this before, I urge you to give it a try.
I have a KitchenAid mixer that is 20 years old that I bought when I lived in Canada. I need to use a transformer on it now, as we have 220V in Norway. But, I remember when I bought it and thought ‘this is a big investment, I hope it is worth it’. I have to say that it was a great purchase. I bought the heavy duty version which has the overload button and lifting bowl vs tilt head and larger bowl capacity. I have only had to hit the overload button twice, but it makes it a powerhouse that I know I can rely on. I have a pile of attachments for this unit, and have to say that the meat grinder worked like a charm, but if I had my druthers, I would have a dedicated sausage stuffer for a job this size. Chances are , someone in your neighbourhood may have one to lend, check around before buying a new one, and check your second hand listings. But for this session, we had a great team who was willing to take turns and spread the labour around.
We chose to use the coarsest grind we could, and it was the right decision. At first, you may think you want something finer, but once you start mixing it by hand to add seasoning, if will loosen up, and the final stuffing stage does so even more.


This day we were making a fresh sausage vs. a cured one. We are quite keen to enter the world of cured meat, hence our experimental pancetta, but with limited time and resources, we opted for fresh that can used within a few days, or frozen to be enjoyed throughout the rest of the year.
With 20kg of sausage on the agenda, we decided to try out a few varieties. A friend sent us her fathers handwritten italian recipe for toscana sausage which laid the base for everything else as it was a simple salt/pepper/meat ratio, but clearly indicated that the meat should be 5-6 days old (details that are often left out – love that!)
We measure out the ratios, and added them to the meat. In hindsight, we would have divided the meat into 2 – 10kg portions, so that as we tested the flavouring, we could have added more meat if ours were over seasoned. We were on the verge of too much salt, but are still happy with the results. Note: I am going to be doing some research on the various salts, and how they impact both flavour and nutrients, as there are so many options on the market (pink himalaya, sea salt, course vs fine…) in this case, we used a fine sea salt.


Once we had the base salt/pepper seasoning, we decided to experiment. Our group included five adults and four children. We decided to do some taste tests by taking small amounts of the meat, seasoning and frying up portions for tasting. Part of our arsenal of pantry items included: dried ramsons (ramsløk aka wild garlic), smoked hot paprika from a trip to Spain, and a lots more. There was no question that smoked chilli/ramsløk was going to be a test, Sandra found some dried jalapenos in the pantry which turned out to be a crowd favourite and a traditional thyme/oregano version made the list as well as an extra hot version, not for the faint of heart!


Meanwhile, while all of the taste tests are happening, make sure that you have prepared your casing. You can purchase a variety of casings ranging in both size and source. The come from pig or sheep, alternatives are available, and they also range in diameter. Tables are available to determine how many kilos of meat you will use per meter. Prepare them as directed. Some are sold in brine, other salted and require soaking in water from anything from 20 minutes to 3 hours, But all natural casings need rinsing.


Once your meat and casings are prepared, it is time to stuff them.
Your first step is to thread the tube through the casing ,and it truly is easier than one would imagine (Tip: make sure the tube is wet to lubricate it and avoid tears).

We quickly realised that one needed to control the speed at which the casing came off the tube. This makes it a two person job: one who controls the density of the sausage, and one who stuff the meat into the machine. (as noted above, for large quantities, a dedicated machine is ideal, but a simple attachment will do the trick in a heart beat!)
Do not over-stuff, as you will need to link the sausages, and if there is too much pressure you can risk breaking the casing. Natural casing are unbelievably resilient! Any inconsistencies can easily be smoothed out. We were all in awe as to how we were able to handle the sausages, and quickly became confident.


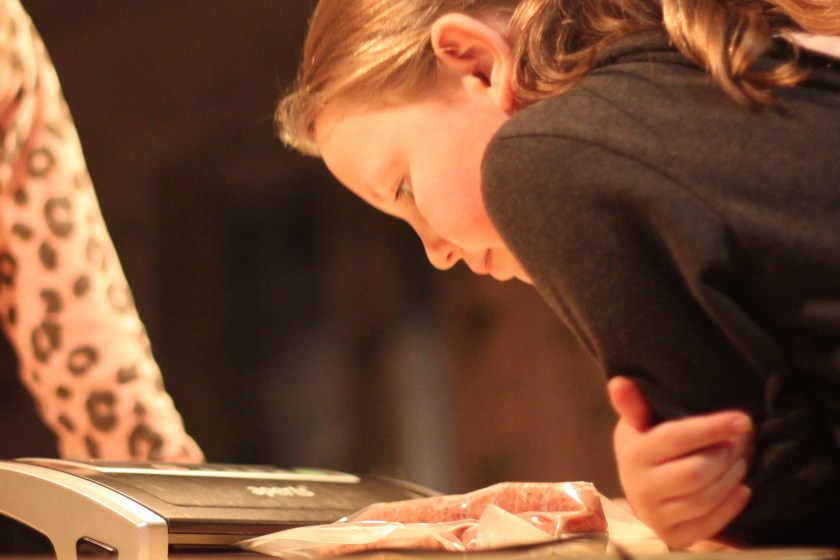
We tied and linked the sausages (there are a ton of methods, you will quickly find a solution that works for you) separated them into portions of 4 or 6 and proceeded to vacuum pack and label them. Once the kids were comfortable with the vacuum machine, we were content to hand off the job!
By the end of the day, we had produced 4 varieties of sausages, packed down ground pork, stock bones and even made some burgers as well as prepared bone broth. Everyone left with a feeling a having had a very productive day, and a freezer full of goodness to enjoy. I can not recommend highly enough trying this yourself… if you are unsure, check around and see if there are any courses available in your area, and if not, post on social media, you are surely going to find some kindred spirits to take on a new adventure.
By the way, one must not forget when using the whole animal, so plan from snout to tail. We have both in the freezer. The tail as a quick add on to a stock pot, and the head is set aside to make sylte (traditional Norwegian head cheese for christmas.. stay tuned!


