Felters who make handmade felt all have pieces lying around that were either sample tests, projects that just were not right or simply bits left over from larger endeavours. There is nothing like handmade wool felt, and even the smallest pieces never get thrown away, after all.. each piece was lovingly made by hand! For those of you who are not felters, follow these directions using just about any fabric.
Those fabric remnants/felt scraps often just sit in the studio yearning for a new life. Well here is what you do. Make covered buttons.
For larger production, purchase a proper button machine press with a cutter and dies like the Osbourne or Handy machine. (note those machines need a die set for each size)

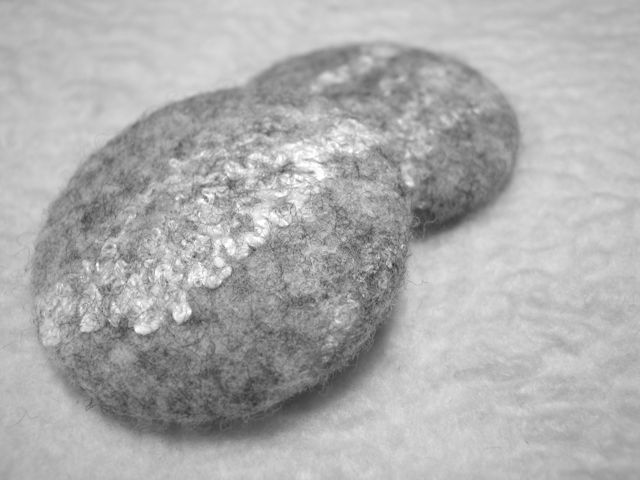
handmade wool and silk felt covered buttons
Large or small, they can be used in a myriad of ways. Here is a peek at the process.
What you will need:
- circle of thin felt, thick felt is too bulky (nuno is gorgeous as a button!)
- button parts – they come in a variety of sizes and are available in every most sewing stores (and online in larger quantaties) – these are size 75 (4.75cm diameter) I love this size, but also use other sizes right down to just over 1 cm wide.
- assembly tool – old tech like the Dr*tz covered button kits our mothers all have in their sewing kits 1 part rubber, 1 part plastic.

covered button parts (2 pieces) tool for assembly (2 parts) felt circle

place your felt upsidedown on the bottom part of the assembly kit, place the domed half of the button on top of the felt (dome down)

push button and felt into the assembly unit ensuring there is enough felt overhang to create the button

tuck excess felt in and place the button back (with the eye loop up) on the felt, placing the plastic assembly part on top

press down firmly. I often use the heel of my foot for this (improvisation is one of my best assets), use firm even pressure. The thicker the felt, the more difficult it is. Regular fabric is a breeze once you have worked with felt!

pop out your button and make another!
What to do with felt covered buttons? a million things …
- use them to spruce up a great coat or shirt
- closure for purses
- accent a hat
- use for darting on upholstery or pillows
- make ponytails.. house favorite here – my daughter and I use them all the time, admittedly they are cuter on her than me.
You can also use wire cutters to remove the loop on the back – I usually do this before assembly if I plan ahead, then you can attach them to findings that you can purchase online using a good quality adhesive to create:
- magnets for your fridge or blackboard
- thumbtacks for your corkboard
- hair clips
- lapel pins
- they are a great addition to the perfect felted shawl or collar
- you name it…
I often use these as a little gift when I send a package to a customer, just a little something to say thanks.
Here is a quickie project.. make a pony tail.

What do you need? 1 button, 1 hair elastic and a piece of wire

fold wire in half over hair elastic (make sure metal connector is on opposite side), thread through hole in button

grab the wire and pull hard to get the elastic through the hole. Thicker elastics work too, just be patient and pull carefully supporting the button loop as you pull.

remove wire and pull through, leaving a small loop and the metal bit

loop elastic back under itself

pull tight, making sure the metal part of the elastic sits good and snug

a great hair accessory!
Do a search online for covered button to see what else can be done with them.

I’ve been meaning to make some felt covered buttons for ages, have the felt and the button bit but did not realise that I needed any other parts. Makes sense but now I have to go looking for the assembly kit. Why don’t shops tell you what you might need when you purchase the buttons in the first place??? Sorry to moan, want to make mine now after a peek at yours and am obviously just going to have to wait!
Super tutorial. Thanks for showing some great ideas to recycle our felt scraps.
Pingback: Keçeden düğme yapımı | Gider Mi? |